How To Plaster a Wall – Basic Sheeting Help
Ok, a question that i get asked a fair bit is how do you install plasterboard on to a timber framed stud wall. Well the first thing you need to do in measure the height of your ceilings. Why? Because if its 2.4m high the you can order 2 x 1200ml wide sheets. If it is 2700 high you can order 2 x 1350ml sheets. Plasterboard comes in these widths only, 1200ml and 1350ml(wide not length). Now if your ceiling is 3.0m high then you would use 2 x 1200 sheets then get 1 more 1200 sheet that you cut in half at 600ml. Just take a look at the right picture, i am installing the 600ml wide sheet first then i will put a 1200ml wide on top of that then another 1200ml wide sheet on top of that, making a total of 3.0m high.As you can see, on 3.0m high ceilings you always start with the 600ml wide sheet first. Why you ask? This is so you can reach the join easy when you trowel it up, if you put it near the top you will need a ladder to reach.
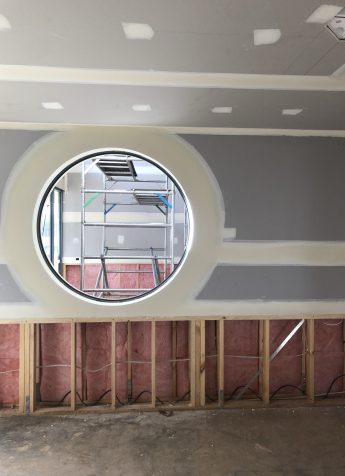
Anyway, before sheeting the wall you need to put insulation in, if the client wants it and you need to put the stud adhesive on the wall prior to putting the sheet on. Now a sheet is normally 1200 wide so in this case you would put daubs of stud adhesive at 200ml, 400ml, 600ml and 800ml on each timber stud. The top of the sheet is screwed or clouted and the bottom of the sheet is screwed or clouted. Do not put screw or clouts in the middle of the sheet. Later they will break the paper surface of the plaster and show through. If your sheeting big sheets like a 4.8m long or 6.0m long sheet, you can put some screws in the middle to hold it back till the glue sets. But remember to take these temporary screws out after and just plaster the little hole up, if you leave it in it will pull through the plaster down the track.
Well i hope this helps you DIY types and remember, the first thing you do before sheeting any wall be it timber or steel or brick is to measure the height of your ceiling so you know the right type of sheets to get. #howtoplasterawall
Regards all
Phillip Cordwell – http://ptcplastering.business.site


