#sheffieldplastering #newhomeplastering #newbuildplastering #plasteringtasmania #philthecracks #plastering #plasterer
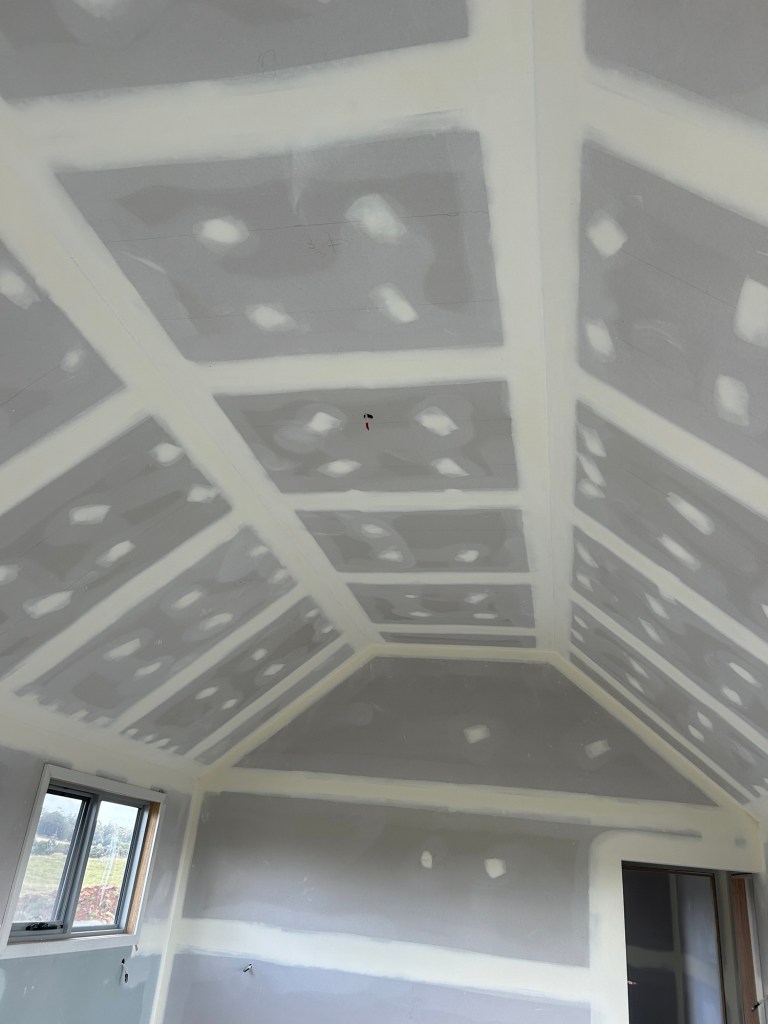

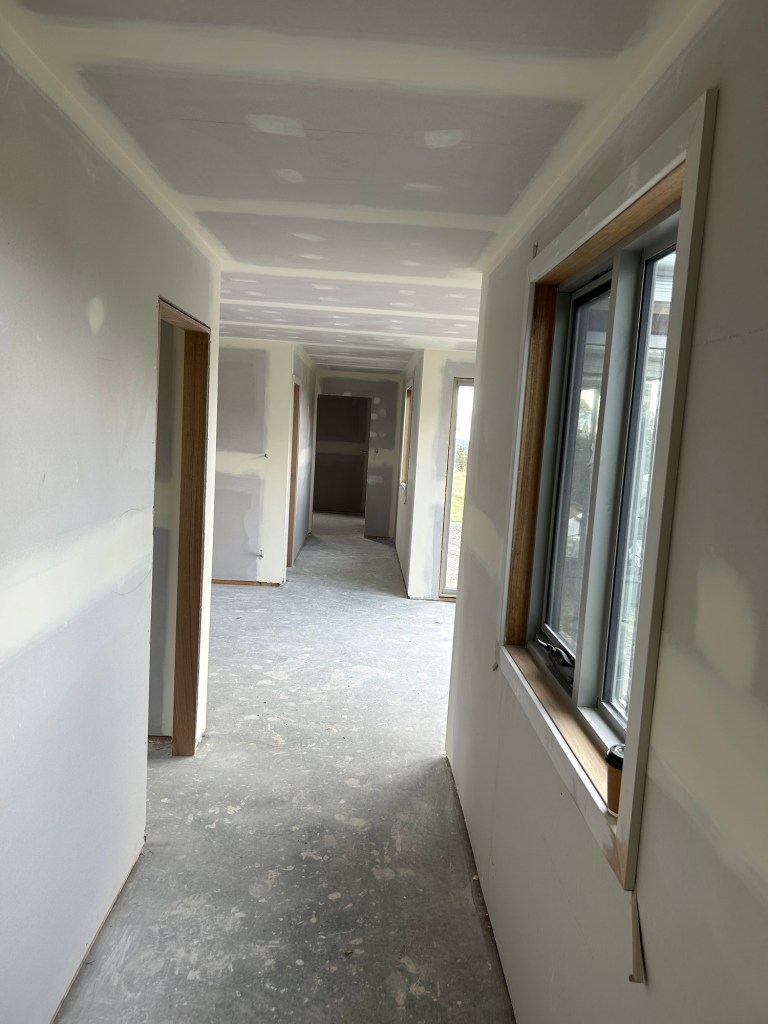
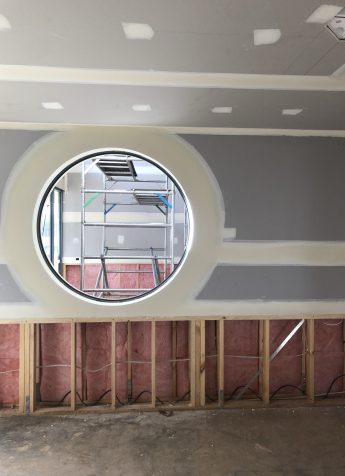
#sheffieldplastering #newhomeplastering #newbuildplastering #plasteringtasmania #philthecracks #plastering #plasterer
#newhouseplastering #eastcoastplasterer #scamanderplasterer #plasteringtasmania #newbuildplastering #plasterertas


Grab your level and place it against the edge of the wall. Check if there are any gaps between the wall and the level. If there are gaps, you will need to adjust the external angle to make sure the wall is straight.
First measure the height of the wall and cut the external angle to suit on a 45-degree angle. Then gently squeeze the sides of the external angle together with your hands to account for any bends in the wall.
Position the external angle at least 10mm off the ground. This way if there is any movement on the floor the angle will not crack. Place the external angle against the straightest point of the corner, roughly in the centre. Position this firmly by placing pressure onto the middle of the angle, and pin into place with your staple gun. To check the angle is straight all the way down, place your straight edge alongside the angle, adding pressure. Once this is straight, staple the remainder of the angle into place.

You can also pin the external angle into place using a hammer. Hold the external angle up to the corner, using your straight edge to determine if the angle is straight. Add pressure with your hand to the opposite side of the angle to hold this into place. Then place a nail through a circle on the outer edge of the external angle and hammer into the plasterboard. Repeat this in multiple spots along the angle until it’s secure.

Now that your external angles are in position you can mix up your plaster for the base coat. In this case we have two externals, so we need to fill the bucket to at least three quarters to have enough. Once the plaster is mixed to the right consistency, you are ready to apply it to the wall.

Use your hawk and trowel to apply the plaster to the external corner. Start applying to the middle of the wall first, working downwards and taking any excess off the edges. When you reach the bottom, run the trowel to the top of the wall to smooth this out, making sure you have gone passed the architrave line. Then apply plaster from the top down to complete this side. Now start on the other side of the corner, applying the base coat from the bottom up.

Once the first coat has dried, smooth the surface with your scraper to get it ready for the second coat. Apply the second coat of plaster to one side of the corner only and make it slightly wider than the first. This coat should be at least three quarters of the length of your trowel. Use the same processes for applying as the first coat. Leave the face side of the corner at this stage.
Now that you have applied a top coat to one side, you can apply a coat to the face using a slightly different technique. This time when you put the mud on, hold your trowel at a 45-degree angle away from the side that has already been troweled.

The process for applying the top coat is the same as the second coat. This time make the surface you apply slightly wider. Once the top coat is dry, you can sand it back and you are ready to paint.

Attribution: Bunnings Australia
Plasterboard can be cut by scoring the face linerboard with a knife and snapping the plasterboard back away from the scored face.
Always score the front (non-printed) face first. The back linerboard can then be cut from the back towards the front. Impact Board has fibreglass mesh behind the back face paper, so this face must also be cut before snapping.
Alternatively a saw may be used from the front face.
Cut edges are to be smoothed as required to permit neat joints. A metal T-square will assist in creating a clean, straight cut.

Hand Jointing of Recessed Joints
& Back-blocked Butt Joints
Curved or straight trowels may be used for setting recessed and back-blocked butt joints. Under normal pressure, a curved trowel deflects and can assist in the preparation of flatter and more consistent joints. A 200mm trowel is recommended for second coat application, while a 250mm trowel is recommended for the finish coat.
Tape Coat
• Fill recess with compound using a 150mm broadknife.
• Bed in Gyprock Paper Tape centrally over the joint and cover lightly with compound.
NOTE
A minimum 1mm compound is to be left under the tape.
• Cover all fastener heads and fill any surface damage with compound.
• Allow setting-type compounds (Gyprock Base Coat) to set completely, and drying type compounds to harden for 24 hours before proceeding.
Second Coat
• Apply a second coat, about 170mm wide, finishing slightly above the board surface, and feather joint edges.
• Cover fastener heads with a second coat of compound, laid in a different direction, and extending beyond the first coat by about 25mm.
• Allow setting-type compounds (Gyprock Base Coat) to set completely, and drying type compounds to harden for 24 hours before proceeding.
Finish Coat
• Apply a thin finish coat of topping compound centrally over the previous coat, about 250mm wide.
Feather the edges of the compound with the trowel.
• Cover previously stopped fastener heads with a third coat of compound, laid in a different direction, extending beyond the previous coat by about 25mm. Ensure that the edges of the compound are neatly feathered and that there are no trowel edge marks left in the final stopping.
• Allow the finish coat of compound to dry for at least 24 hours before proceeding.
Sanding
• Sand smooth with 180 grit paper or cloth, or with 220 grit sanding mesh. Avoid any heavy pressure which might scuff the linerboard.
Caution: If previous coats of drying type compounds are not thoroughly dry before application of subsequent coats, imperfections can result from delayed shrinkage of the compound.
Attribution: CSR Residential Installation Guide. The RED Book.


